
Zapier integration structure for a forms app
Form and survey app integrations built on Zapier allow users to connect mobile data collection forms to send the responses into other apps as new contacts, document templates, messages, and more.
To add a form or survey app integration in the Platform UI:
Prerequisites
- A Zapier account.
- If you haven’t used Zapier before, you’ll want to learn the basics in our Zapier Getting Started Guide.
- Familiarity with your app’s API documentation and available endpoints.
- Review the Platform UI Tutorial.
1. Add a new entry/response trigger
- Start a new integration at https://developer.zapier.com/ for your app
- Create a New Form Entry/Submission or New Survey Response trigger
- Use the standard New naming pattern to show users that this trigger retrieves new entries, not existing ones.

2. Configure selection of a specific form
- Add a dynamic dropdown to retrieve form names exactly as they are listed in your app.
- If the endpoint the dropdown uses allows for sorting, you can
sort_bythe create date to order the dropdown list by the most recently added form to make it easier for users to select the form they need. - Make the selection of a form required so the trigger only watches for results from this one form
- If you keep the form field optional, it can be used for responses to any form; and you’ll need to add help text to let users know what to expect if they do not select a form.

3. Format the responses the trigger receives
Question and answer fields
-
Form fields or survey questions must include the same name within Zapier as that form field shown in your app’s user interface.
-
In a form that asks for contact information, the question/field “What’s your email?” might internally use an ID like
1839dod38k01or a generic label such asQuestion 1in your app’s API. The user should also see the field’s friendly name within Zapier so they’ll recognize which field to use when mapping data to action steps. The raw field ID, thekey, can still be shown beside the friendly name. -
For example, a common use case is to log responses in spreadsheets, with each answer field mapped to different columns. Showing only the key
q_1_answerfor a question is not intuitive for users. Include the label with the full question. -
Include the question number as a prefix to the label if possible, to help users find specific questions and fields.

Multiple choice fields
-
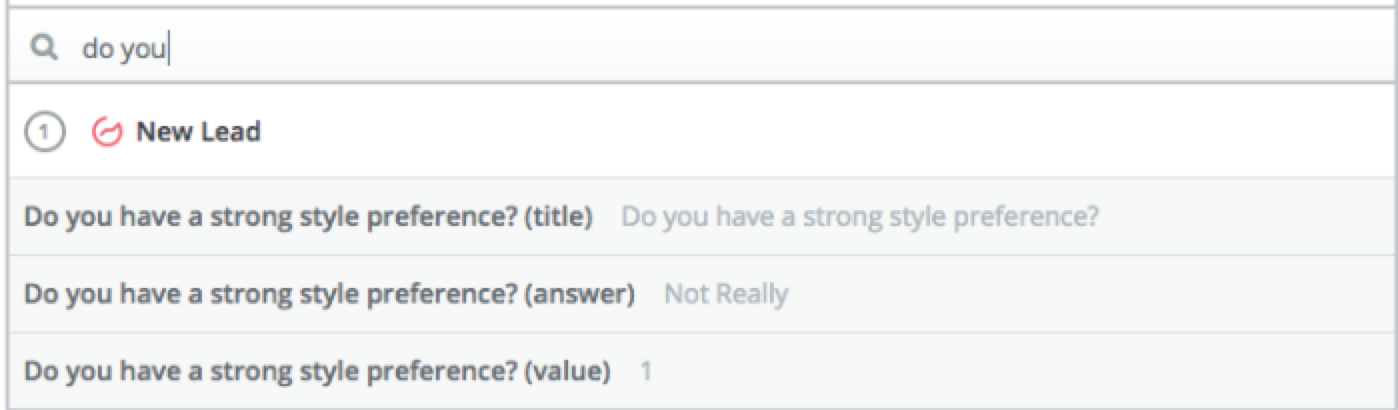
Include the question title, answer and value as separate fields where possible. Use the same label to group these together in the trigger output.
-
When a multiple choice question is based on a range of values (e.g., from “not really” to “very”), it is useful to return the choice values (such as
1to5) with the actual answer. This can be especially helpful for users wishing to track responses in a spreadsheet.
Multi-select fields
- When users can select multiple responses (like a list of checkboxes) in a form or survey, it can be challenging to use this data within a trigger.
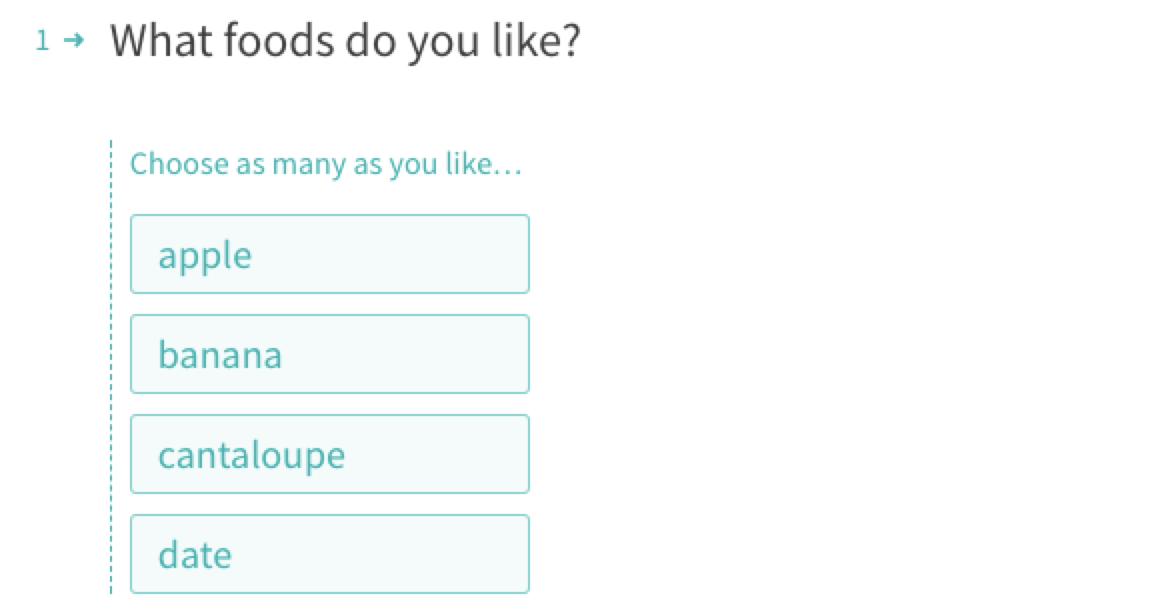
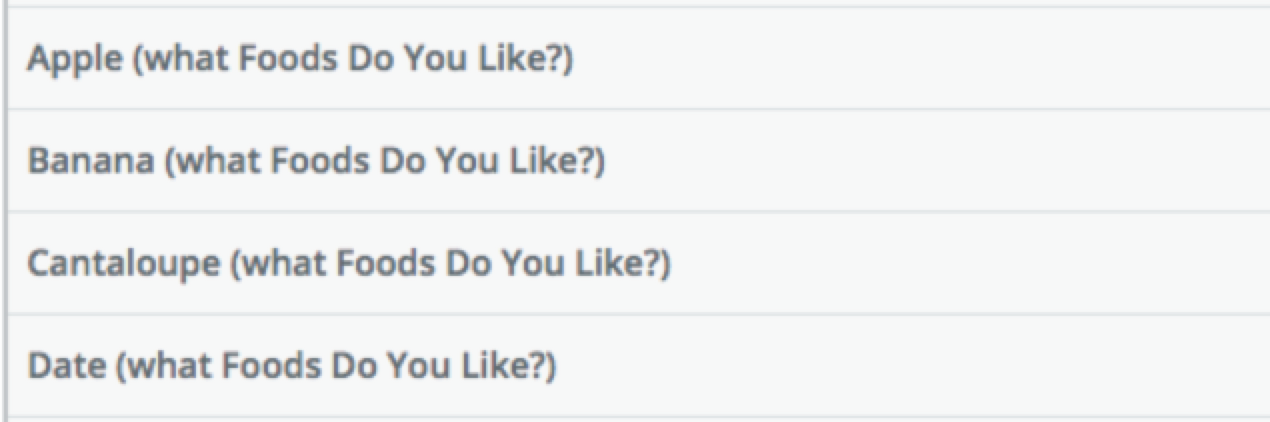
- When possible, return these responses individually by splitting each individual response to the question into its own field, with a value if it is selected by the responder and a blank value if not selected. This makes mapping Zap steps simpler because users can map all responses into one field separated by the correct delimiter, or can take action on specific responses when they are present with the user of Filters or Paths.
- Depending on your app’s API response fields, you might instead opt to return the question’s selected values in a single, comma separated field. Users can then split the values themselves with Zapier’s Formatter tool, or could map the all the values together to a later step’s field.

Date fields
-
Return the timestamp when the response was completed in ISO 8601 format. Also return any dates users can select in the form or survey in ISO 8601 format.
-
When possible, also include a human-friendly date for the response completion and any other selected dates in the response.

File attachments
-
When users can attach files to form responses, include those in the response data as a publicly accessible URL for the file.
-
You could configure Zapier to request the full file via file dehydration but you’ll need to then work in the Platform CLI.
4. Choose trigger type under API Configuration
REST Hook trigger
-
If your app supports webhook subscriptions that can be manipulated through a REST API, use REST hooks for your trigger to send new form entries to Zapier as soon as the form is filled out.
-
Webhook triggers are marked as Instant in the Zap Editor.
-
When your user has many form entries in a short space of time, webhooks make your integration more robust, preventing the possibility that a high number of new entries will exceed the page size of polling results.
-
With REST hooks, Zapier won’t need to repeatedly poll your API to check for new responses.
Polling trigger
-
When using a Polling trigger, and for the Perform List URL for REST Hook triggers, the Polling URL should return the most recent form entry for the chosen form.
-
If there are no entries for the selected form, return an empty array. Zapier will then encourage the user to create a sample then re-test their trigger in the Zap Editor to finish mapping their Zap.
5. Handle Sample data
-
Zapier requests sample results for every trigger and action when users select Skip test if the test API call returns no data.
-
Since a form app has dynamic fields unique to each user, it’s impossible to define sample data that work for every form.
-
Instead, include only the common form fields that would be present for every result, such as form ID and timestamp, for the trigger’s static sample data.
6. Test your triggers
Make Zaps with the trigger for the following criteria to ensure your app integration works as expected:
- A triggering form that already has completed entries, where you should check that your polling URL is returning the latest form entry first (reverse chronological).
- A brand new triggering form with no entries, to make sure your form sends an appropriate error when no results exists.
- A triggering form that is composed of required and optional questions, to make sure all the questions are mappable into later action steps, regardless of whether the latest response only had a few questions answered.
- A triggering form that has questions with multi select answers, where you should choose one or more options when sending a response in your app, to check that all the values come through.
- Turn on the Zaps and submit new entries to each form to check that the Zap triggers and includes the expected response.