
Add integration branding in Platform CLI
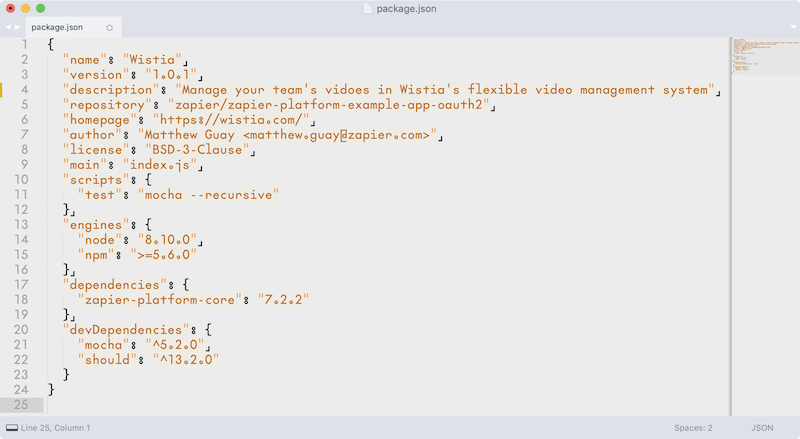
When you make a new integration in Zapier CLI, you can add the app’s name, description, and homepage to the package.json file. The rest of your app’s branding needs to be added in Zapier’s online Platform UI.
Focus first on building your integration. When you’ve added your app’s core details, authentication, triggers, and actions, push your integration to Zapier with a zapier push command. Zapier will use the name you added in the CLI integration settings, along with a placeholder icon for your app.
Then, before launching your integration, add your app’s branding via Zapier’s Platform UI at zapier.com/app/developer. There you will see every Zapier integration you’ve built. The top Integrations section includes every app you’ve added via Zapier’s Platform UI or CLI. Look for the integration you built with Zapier CLI and click its name.

You can’t edit authentication, triggers, and actions in Zapier’s Platform UI for integrations built with Zapier’s CLI. But you can edit branding.
To do that, click the gear icon in the upper left hand corner near your app’s name and placeholder icon. You can then edit your integration’s name and description, and upload your app’s icon (a square, transparent PNG at least 256x256px). Below that, you can set your app’s category and other brand settings. Click Update to save your settings.
You can then make further changes to your integration in your Zapier CLI code and push them to Zapier anytime without affecting your branding. If you ever need to change your app icon or other branding again, just come back to the Zapier Platform UI and edit it as before.
→ Check Zapier’s app logo, name, and description guidelines to ensure your app’s branding fits into the Zapier platform.