
Promote a version
After your integration has entered the beta or public status, you can set a new default version for public use. This process is called promoting a version.
Prior to promoting a version, run the automated validation checks. All Errors and Publishing Tasks must be validated. Warnings are non-blocking and not strictly required to proceed as they would not prevent you from promoting a version, though we do recommend you review them for usability of your integration.
Promote a version with Platform UI
- Log into the Platform UI.
- Select your integration.
- In the Manage section in the left sidebar, click your Versions.
- On the version you want to promote, click the three dots icon
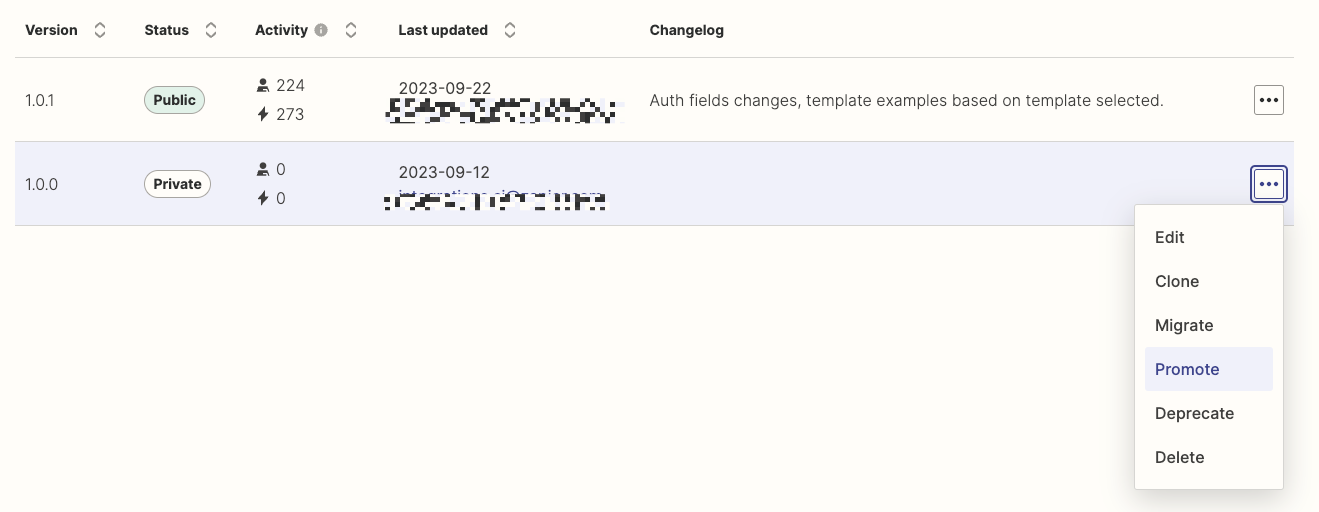 and Promote.
 - Fill in the changelog form and click Promote. Selecting specific features added and bugs fixed will automatically queue up the issue(s) to be reviewed by our internal team for closure.
Note: If you have a private integration, you will not see the Promote option. Instead, you can share your new version with users.
Promote a version with Platform CLI
In the Platform CLI, you can run zapier promote [version] to make the specified version number the new public and default version. Learn more about promoting a version using the Platform CLI .
What happens after you promote a version?
After successfully promoting a version:
- Zap templates update: If there are no breaking changes, all Zap templates will be updated to use the new public version.
- New triggers and actions: Any newly added triggers or actions will be displayed on your integration’s public app page.
- User experience: Users who select your integration for a new Zap will interact with the promoted version by default.
By following these steps, you can seamlessly promote a new version of your integration, ensuring that new users have access to the latest features and improvements.